Showing posts with label diy. Show all posts

24 October 2012

How To: Painted Rhinestone Necklace


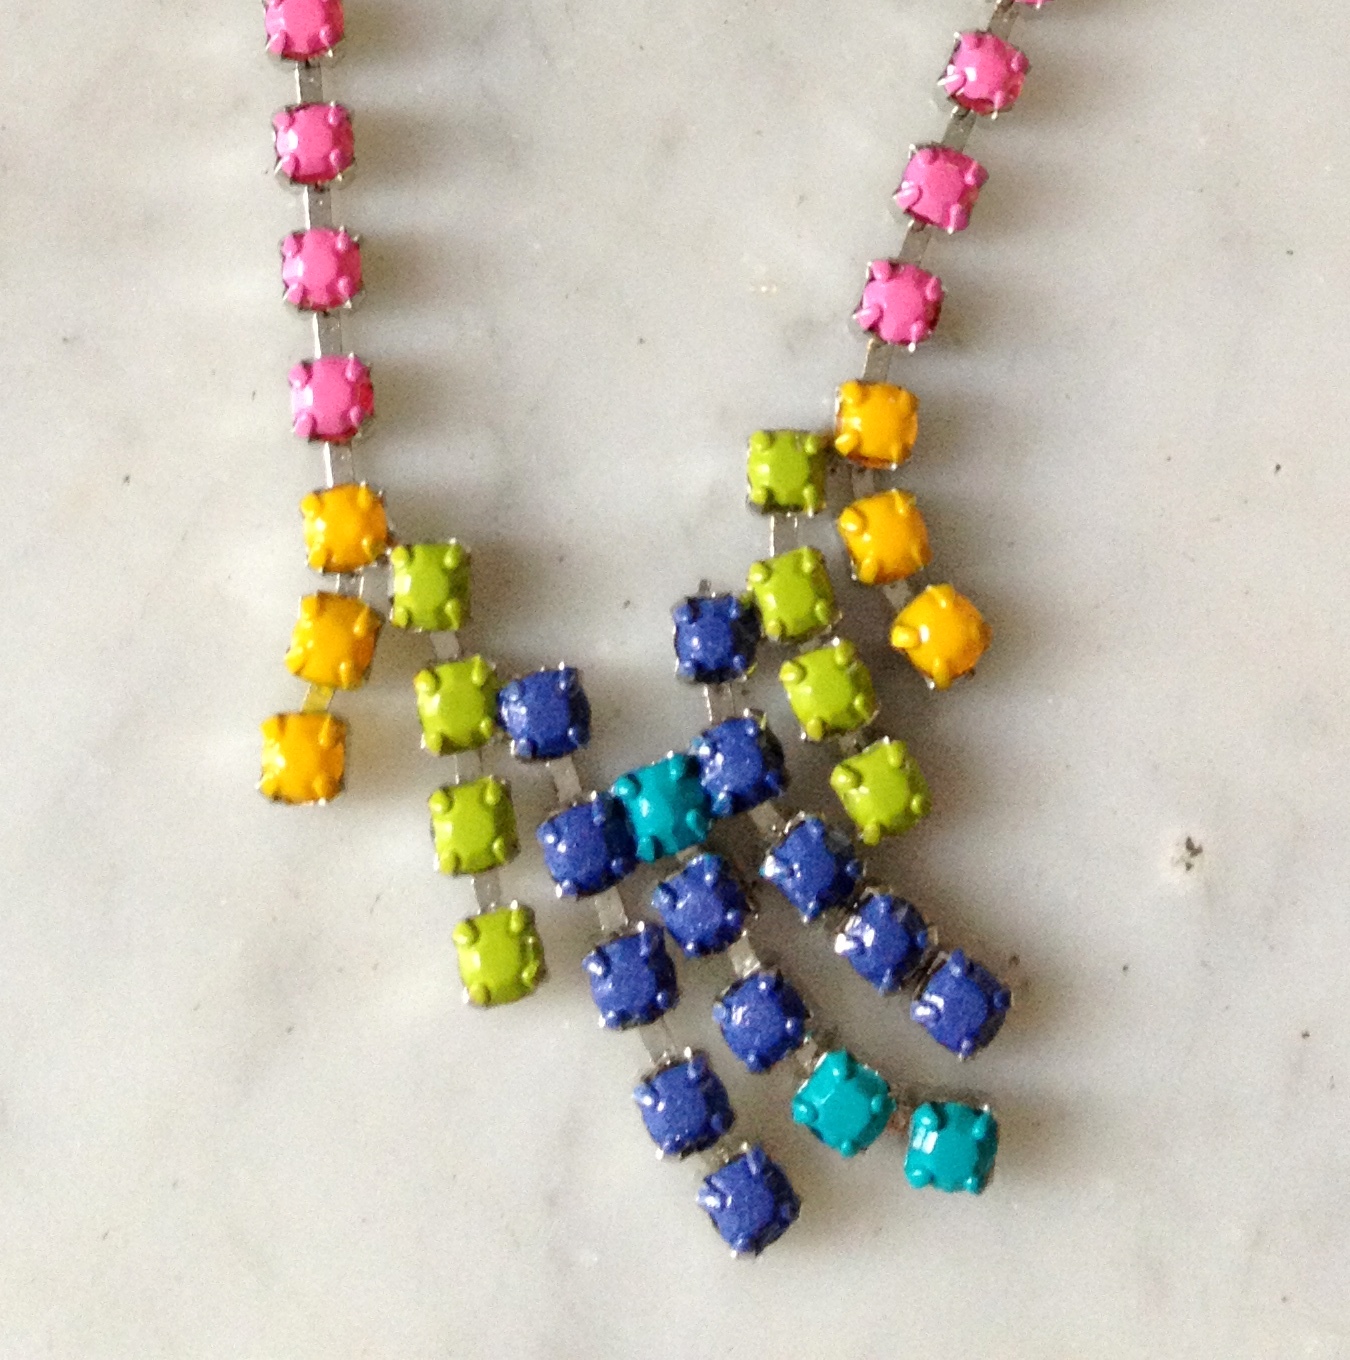
Most painted rhinestone necklaces I have been lusting after are quite pricey. A while back, I purchased a clear rhinestone necklace at a thrift shop and was never quite happy with how murky the rhinestones were.  My solution was to turn it into a piece that I love by painting it with bright colors while saving a nice sum of money in the process! 


A beautiful design, not so beautiful stones


You need: a few bottles of inexpensive nail polish (mine were on sale for 49 cents each!),  a toothpick to correct mistakes along with nail polish remover, and plain white paper to place under the necklace


Start with one color at a time and dab the nailpolish onto the stone. It's okay to cover the prongs...
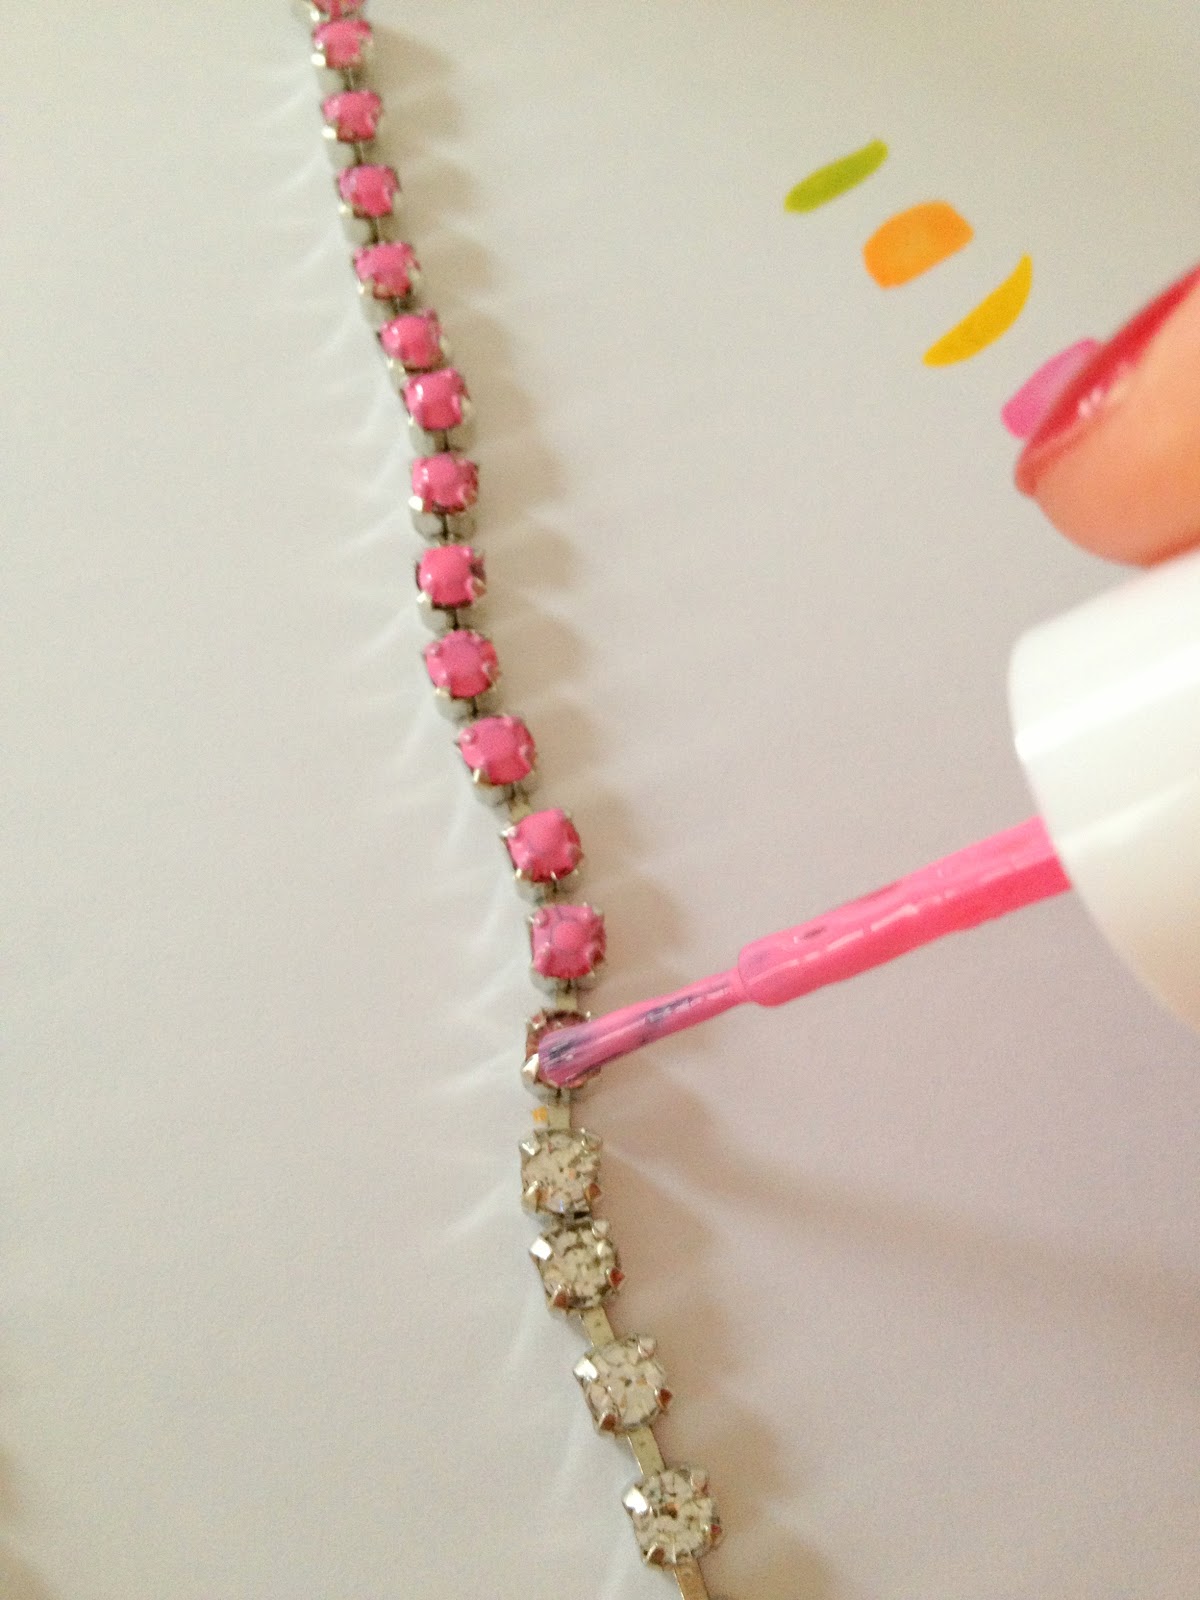

By using one color at a time, it's easier to decide on your desired color placement


Rotate the paper as you work, not the necklace. Gradually, the necklace begins to come alive!




21 December 2011

Frugal Daily Luxuries

Who says frugality can't be luxurious?  Although a few of the ideas will require a small investment at first, overall, they are eco friendly, money saving, and just plain indulgent...spoil yourself, you deserve it!

 
  One: Cloth Napkins

{Rachel Ashwell Shabby Chic Couture Crown Linen Napkin $15...machine washable!}


Two: French Press Coffee & Homemade Yogurt

{Pressing your own coffee daily and making a batch of homemade yogurt is endlessly frugal and decadent...Try a Bodum French Press & a Donvier Yogurt Maker}


Three:  Homemade Soap


{A few simple ingredients in various scents to suit your mood. Try this soap 'recipe'}

Four: Homemade Candles

{Unbelieveably gorgeous. How-to details here}


Five: Homemade Bread

{A carb counter I am not and will never be...SIMPLE recipe here}

These are just a handful of ideas to get you started.  I hope you'll try some of them and if you do, let me know how it goes! xo, Alicia


photos: one  two  three  four  five

26 October 2011

Paper flower

I love fresh flowers in the house, but it's not always practical to refresh them on a regular basis.  Having made plenty of fabric flowers, I thought I would try my hand at paper flowers.  Although I plan to make a bouquet of them (using colored tissue paper), I started with one to see how it would go.  Here's what I came up with:

My supplies: old packaging paper, scissors, orange and black ribbon, and wooden skewers


Next, with the paper folded, cut a half heart to create one set of petals


Continue cutting different size half hearts (petals)


Begin twisting at the base as you add the petals


Soon, the flower will begin to take shape


Add a bit of tape around the base and tie on your ribbon


Et voila!


My apologies for such terrible lighting in these photos,  but I hope this 'tutorial' was easy to follow and you'll give paper flowers a try too!

Alicia